
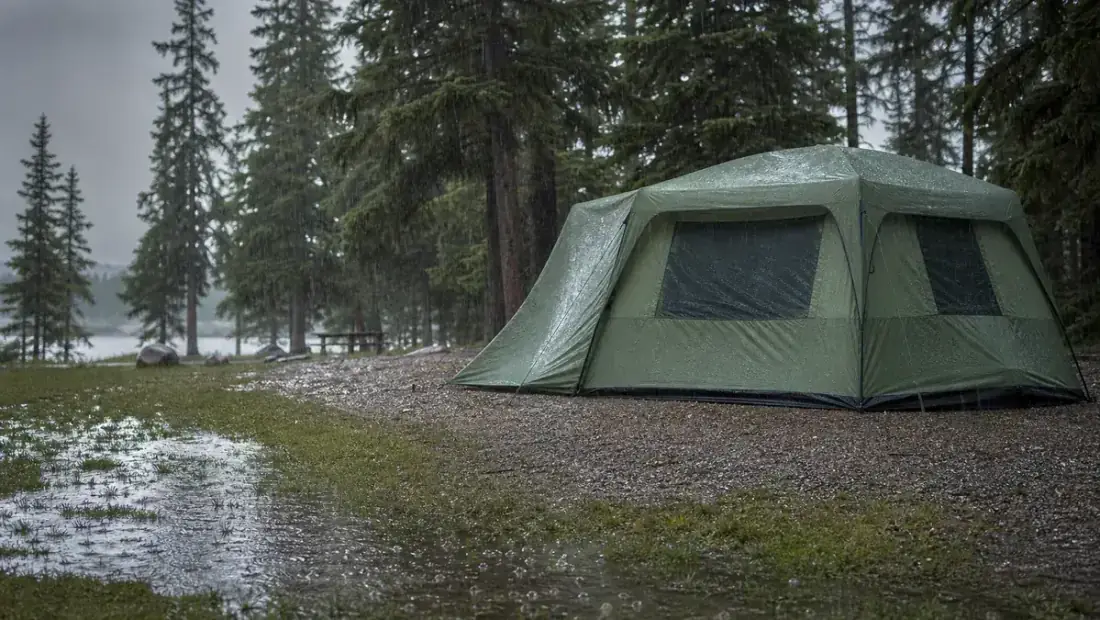
I've spent enough soggy nights zipped inside a family tent to know that the difference between a rained-out camping trip and a genuinely good one almost always comes down to what you did before the rain started, not during it. A tent that leaks usually isn't a bad tent, it's a tent that wasn't set up right for wet weather. After a full season of car camping with my family through everything from a two-hour downpour at a lake campground to a full night of steady rain in the mountains, I've settled on a routine that keeps everyone and everything inside dry, no matter how hard it's coming down outside.
The tent I've leaned on most while working this routine out is the UNP 6-Person Cabin Tent with its full-coverage rainfly, mostly because the tub-style floor and fly design give me a real head start before I do anything else. That said, every step below works no matter what family tent you're pitching, cabin-style or dome. If you're still deciding between the two shapes, I get into the tradeoffs in 10 Reasons Cabin Tents Beat Dome Tents. For now, here's exactly what I do, in order, every time the forecast turns ugly.
Keeping a family tent dry isn't just about comfort either. With kids in the mix, a wet sleeping bag or a soaked pair of shoes at ten at night turns a minor weather event into the reason everyone wants to pack up and go home early. The steps below take maybe thirty extra minutes total at setup, and I've found that time is always worth it compared to dealing with wet gear, cranky kids, and a ruined second day at 6am.
Don't find out your tent leaks at 2am in a storm
The UNP 6-Person Cabin Tent ships with a full rainfly and a tub floor built to handle exactly this. I've used mine through some genuinely bad weekends without a single wet sleeping bag.
Amazon Check Today's Price on Amazon →Step 1: Choose the Site Before You Pitch a Single Stake
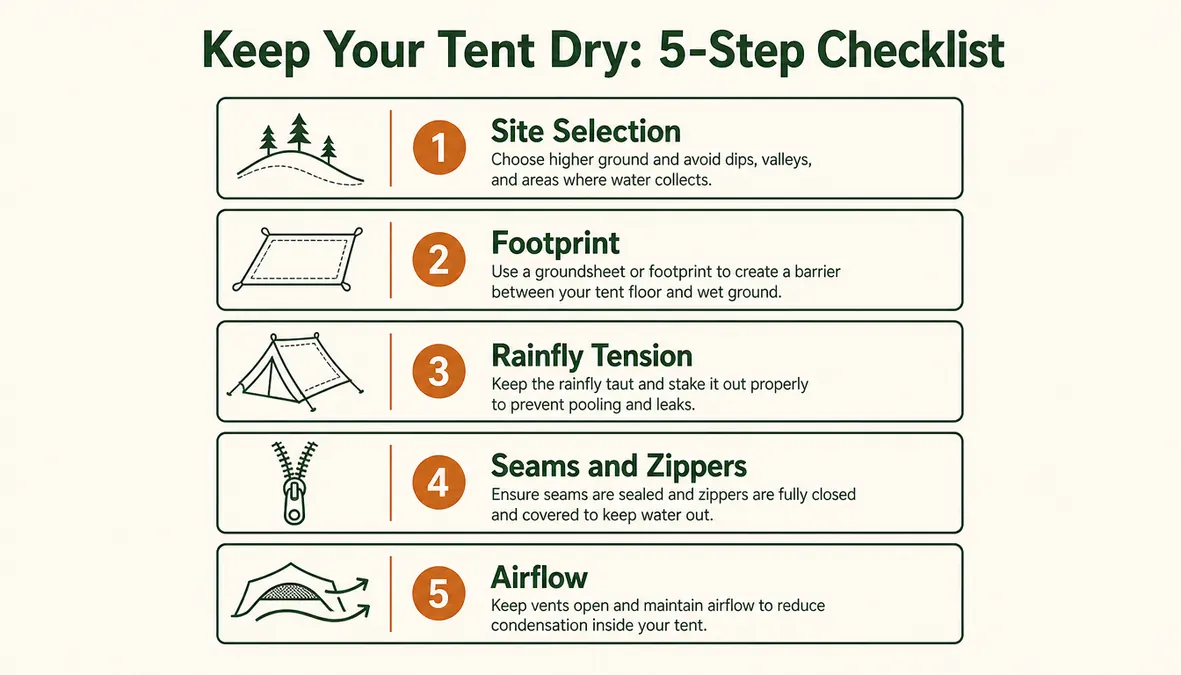
Most tent leaks I've dealt with had nothing to do with the tent and everything to do with where I put it. Before I unroll anything, I walk the site and look for the lowest points, the places where water is going to want to sit once it starts raining hard. Any small dip, even one that's barely noticeable when the ground is dry, turns into a puddle under your tent floor within the first hour of steady rain.
I look for slightly elevated, level ground with some kind of drainage path away from it, ideally with a bit of gravel or sandy soil rather than dense clay, which holds water and turns to mud fast. I also avoid pitching directly under trees. It seems like shelter, but trees keep dripping long after the rain stops, and dead branches come down in wind. A little bit of open sky above the tent is safer than a canopy that's still raining on you an hour after the storm passes.
If I have any doubt about a spot, I'll walk it again after the campground's had rain the day before, or I'll just look for grass that's noticeably greener or mossier in a strip running through the site. That green streak is almost always the path water takes when it rains hard, and it's the one place I never pitch, even if the ground looks flat and dry at the moment I'm setting up.
Step 2: Lay Down a Footprint That's Smaller Than Your Tent Floor
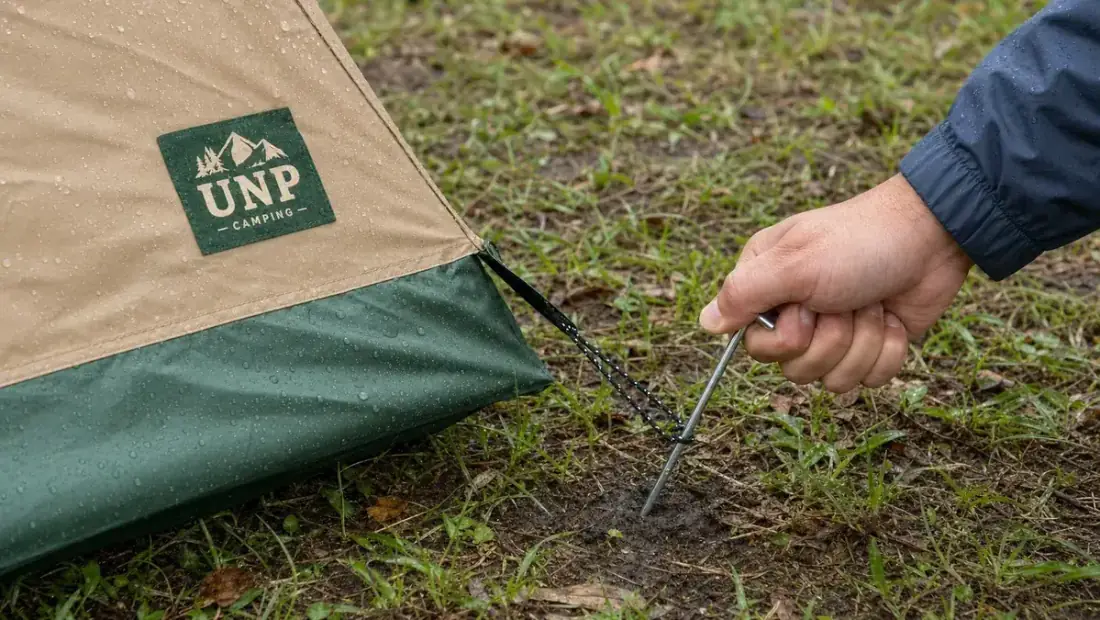
A ground tarp, or footprint, protects the tent floor from punctures and abrasion, but it can backfire if you cut it wrong. If the footprint sticks out past the edges of the tent floor, it catches rain running off the rainfly and channels it straight underneath you instead of letting it drain past. I always fold or trim my tarp so it sits an inch or two inside the tent's actual footprint on every side.
This matters less with the UNP cabin tent than it did with tents I used before it, since its floor already has a raised, tub-style edge that acts like a shallow bathtub wall around the base. Water has to get pretty deep before it would ever reach the seam line. Even so, I still use a properly sized footprint underneath, because it protects the floor material from rocks and roots on the ground, which is where most slow leaks eventually start anyway.
One habit I've picked up is checking under the footprint the next morning after a rainy night, before I fold it up. If I find a puddle trapped between the tarp and the tent floor, that tells me the tarp was cut too big for that particular pitch, and I trim it down before the next trip instead of assuming it was a fluke.
Step 3: Pitch the Rainfly Fully and Tension the Guy Lines Correctly
This is the step people skip most often, usually because it's the one that takes the extra ten minutes. A rainfly that's just draped over the tent without being staked out and tensioned will sag, and sagging fabric holds water in pools instead of shedding it. Once a low spot forms in the fly, rain sits there until enough weight builds up to push moisture through the fabric or, worse, the seams.
I stake every guy line at roughly a 45-degree angle away from the tent, pulling each one until the fly is smooth and drum-tight with no visible sag anywhere across the panels. On the UNP tent, the fly extends well past the tent body on all sides, which gives rain somewhere to drip off away from the walls and doorways instead of running straight down them. I go around and re-tension the lines once more after the first ten minutes of setup, since fabric stretches slightly once it's wet, and a line that was tight when dry can loosen just enough to let a sag form later that night.
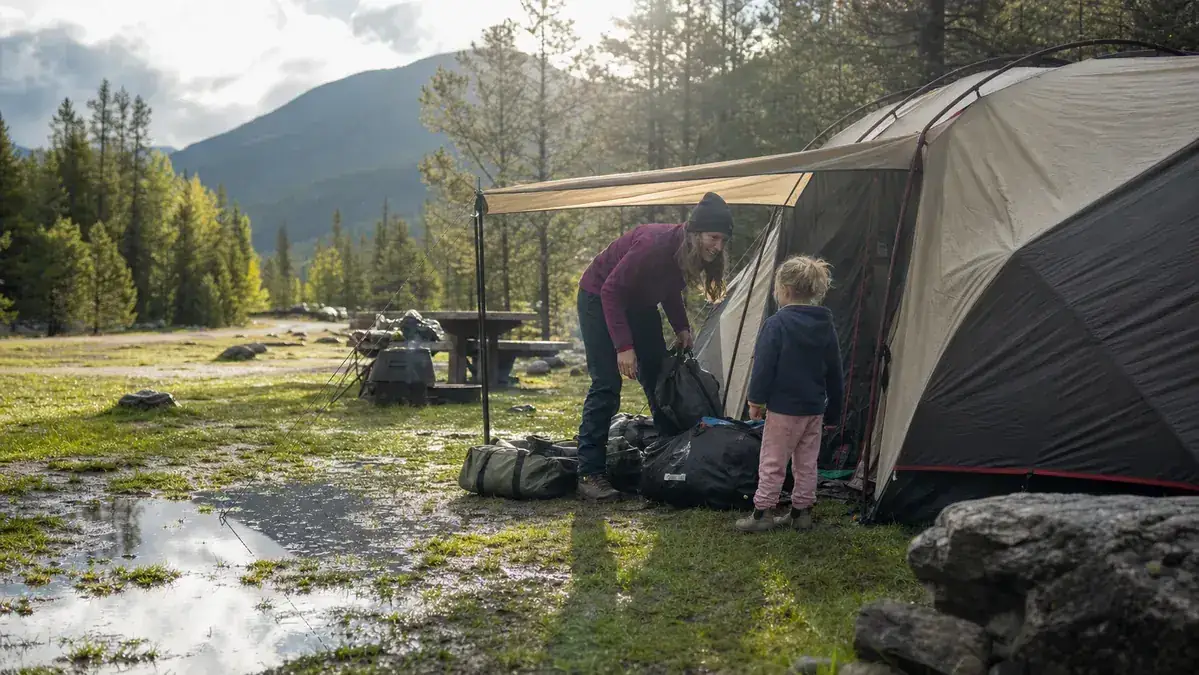
The covered awning area over the door on the UNP tent has turned out to be one of the more useful details for wet weather specifically, since it gives the kids a spot to pull off muddy shoes and stash wet rain jackets before anyone actually steps inside. It's a small thing, but it's cut down on tracked-in mud and wet socks more than any single other change I made to how I set up.
Step 4: Seal the Seams and Check the Zippers Before You Need To
New tents, including this one, usually hold up fine right out of the box, but seams are still the weakest point on any tent over time. I check the factory-taped seams on the floor and rainfly at the start of every season, and I run a bead of seam sealer over any spot where the tape looks like it's lifting at the edges. It's a fifteen-minute job that's saved me from waking up to a wet corner more than once.
Zippers matter just as much as seams. Water finds its way in through a partially open door flap faster than almost any other spot on the tent, so I make a habit of fully closing every zipper, including the small mesh vent zippers, before I walk away from the tent in wet weather. The door flaps on the UNP tent have a small storm flap that folds over the zipper track, and I always make sure that flap is pressed down flat rather than folded back on itself, since a folded-back flap channels water straight onto the zipper teeth instead of past them.
I also give the rainfly's attachment points, the buckles and hook loops that clip it to the tent poles and body, a quick once-over before a rainy trip. A loose buckle lets one corner of the fly sag even when every guy line is tight, and it's an easy thing to miss since it's usually hidden up near the roofline where you're not looking closely.
Step 5: Manage Airflow So You Don't Mistake Condensation for a Leak
Plenty of what gets blamed on a leaky tent is actually condensation, moisture that forms on the inside of the rainfly from body heat and breath with nowhere to go. It drips down and lands on gear or sleeping bags, and it feels exactly like a leak even though the tent itself is doing its job. The fix is airflow, not more waterproofing.
I keep the low vents on the tent body cracked open even during a downpour, since the rainfly still covers them and keeps direct rain out while letting warm, damp air escape. I also avoid packing wet gear, like rain jackets or boots, inside the main sleeping area. I keep a small dry bag by the door for anything soaked from being outside, and that alone has cut down how much condensation builds up overnight more than any other single change I've made.
Before I ever pack the tent away, wet or dry, I try to give it a chance to air out fully, even if that just means propping the doors open for twenty minutes while I load the car. Rolling up a tent that's still damp inside is how mildew smell shows up two months later when you pull it out for the next trip, and once that smell sets in, it doesn't fully go away.
Most of what people call a leaky tent is really a tent that was never given a fighting chance before the rain started.
What Else Helps
A couple of extra habits round out the routine. I check the hourly forecast the night before, not just the daily one, so I know roughly when rain is expected to start and can finish setup with dry hands. I also rig a small separate tarp over the cooking and gear area outside the tent door, since that keeps wet boots and rain jackets from ever coming inside in the first place, which does more for keeping the tent dry than anything you can do to the tent itself.
If you do end up with a damp spot despite all of this, don't panic and assume the tent is a lost cause. I keep a small microfiber towel in the gear bag specifically for wiping down a wet corner, and most of the time a damp patch traces back to one of the steps above being skipped, a stake that pulled loose, a vent left zipped shut, rather than an actual failure in the tent material. If you want a fuller rundown on how this tent has held up across a whole season of trips, not just rainy ones, I wrote up everything in the honest review of the UNP cabin tent, including a few things I'd change if I could. There's also a longer look at day-to-day livability in the long-term UNP tent review, if you want the bigger picture before you commit to a shelter for the season.
Set up right once, stay dry every trip after
The UNP 6-Person Cabin Tent gives you the full rainfly coverage and tub floor this whole routine leans on. Check current availability and today's price before your next trip.
Amazon Check Today's Price on Amazon →